Back to Blog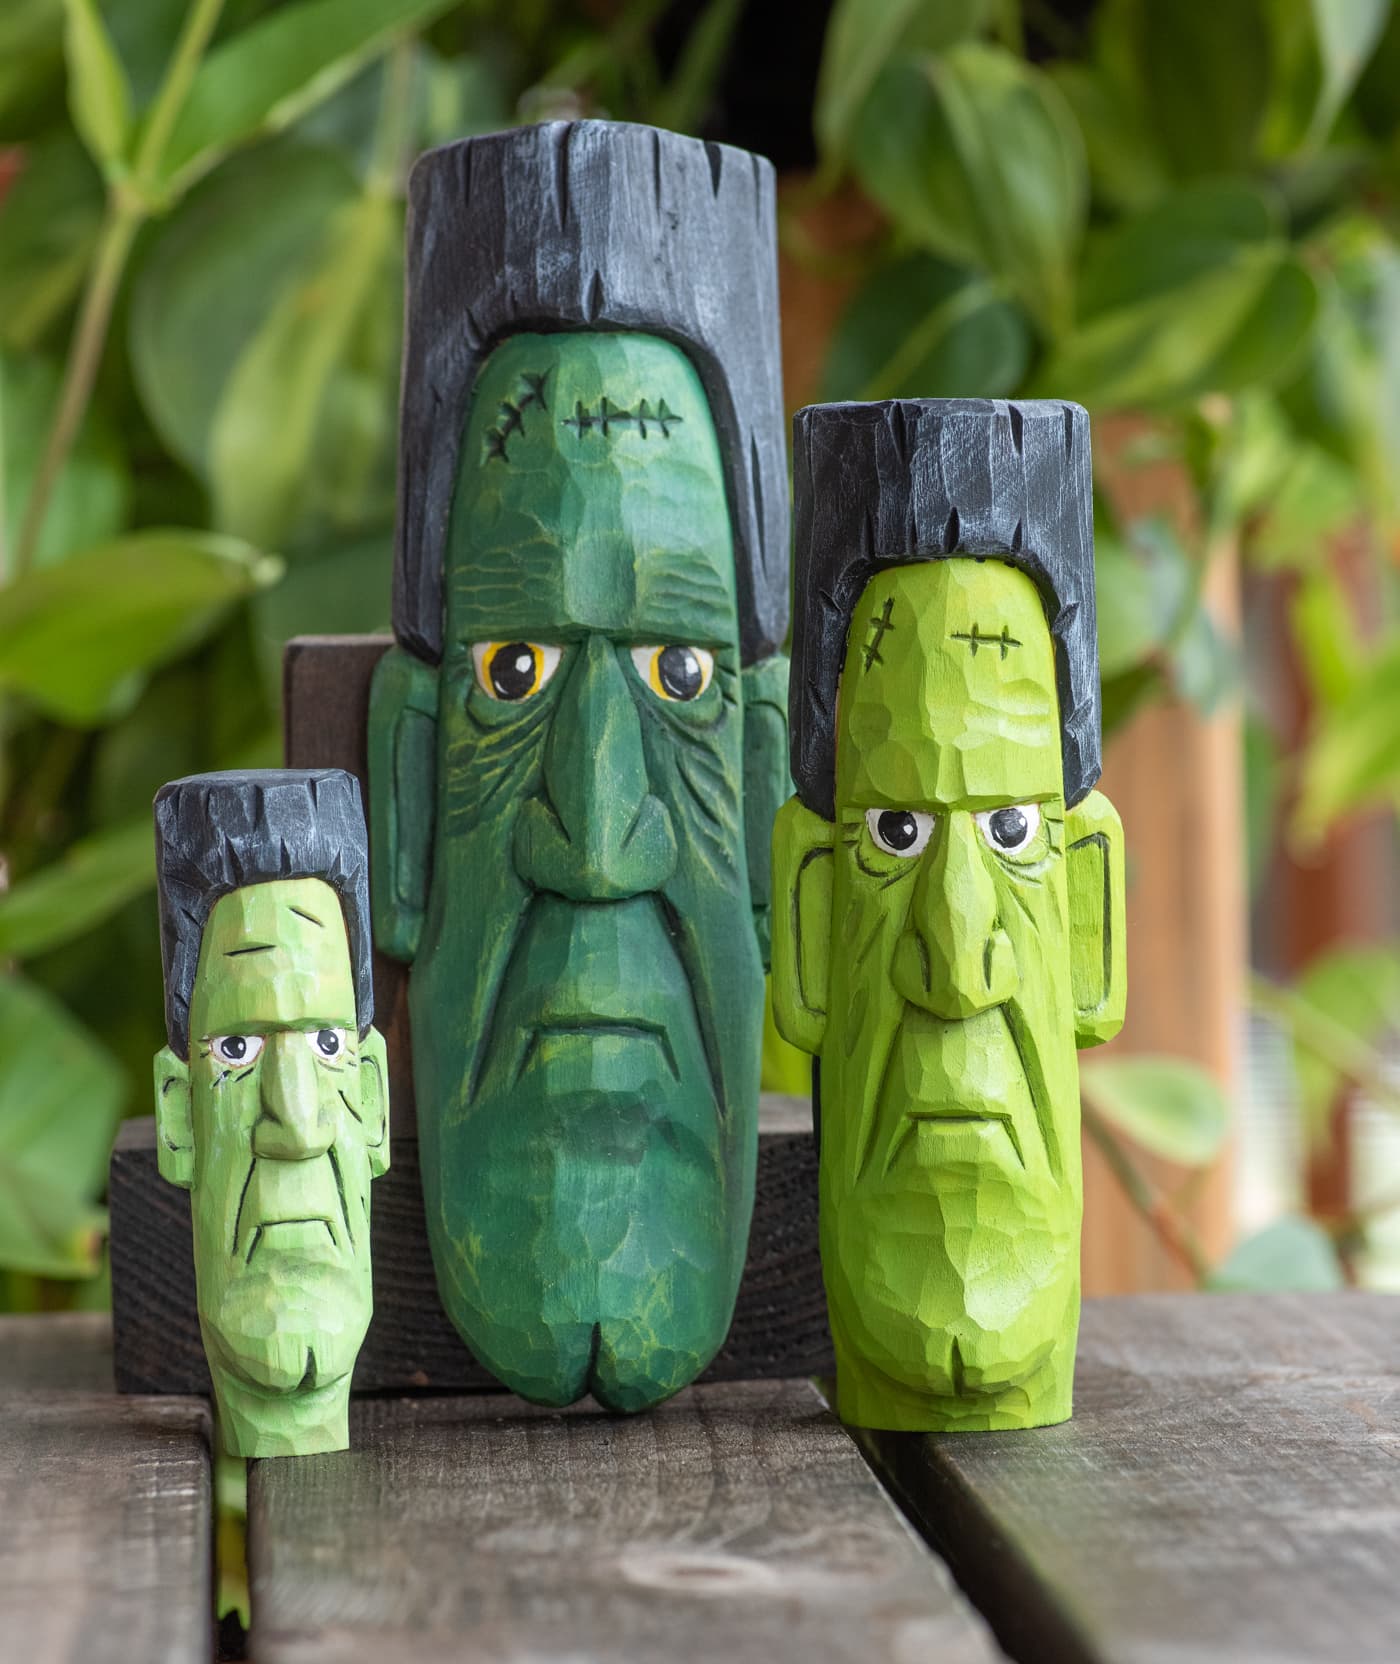
Halloween Wood Carving Ideas: Using Stencils to Create Spooky Seasonal Carvings
Why Use Stencils for Halloween Wood Carving? A stencil doesn't do the carving for you. Think of it more like a starting map.
September 15, 2026
Halloween is a great excuse to try something a little different at the carving bench. Pumpkins, monsters, ghosts, vampires, witches, and other spooky characters translate surprisingly well into wood, and unlike a carved pumpkin, a wooden Halloween decoration can come back out every October.
The challenge is often getting the idea in your head onto the wood.
You might know that you want to carve a Frankenstein, Jack-o’-lantern, or spooky character, but drawing the proportions and keeping the design consistent can become a project of its own. That's where wood carving stencils can be especially useful.
Instead of starting with a completely blank block, a stencil gives you the important reference lines so you can spend more of your time actually carving.
Why Use Stencils for Halloween Wood Carving?
A stencil doesn't do the carving for you. Think of it more like a starting map.
Place the stencil against your block, trace the important lines with a pencil, remove the stencil, and you're left with a layout to follow while carving.
Accurate pattern transfer is an important part of carving because misplaced or disappearing reference lines can cause problems once material starts being removed. Traditional carvers use techniques such as graphite or transfer paper to move patterns onto wood for the same reason.
A reusable 3D-printed stencil simplifies that process even further. You don't have to redraw the same face or figure every time you want to make another carving.
This can be particularly useful for Halloween projects because you may want to carve several related pieces for a shelf, mantel, craft fair display, or collection.
Start With a Wooden Jack-o’-Lantern
You don't actually need a pumpkin to carve a Jack-o’-lantern.
A small block of basswood can be rounded into a pumpkin shape and given the familiar carved eyes and mouth. Unlike the real thing, however, your wooden Jack-o’-lantern won't be heading for the trash in November.
Jack-o’-lanterns are also a good opportunity to experiment with expressions.
Change the eyes, eyebrows, mouth, teeth, or shape of the pumpkin and the same basic project can produce completely different characters. One can look scary while another looks confused, angry, or goofy.
Our Jack o' Lantern Halloween Wood Carving Stencil was designed around this idea. The set includes five flexible designs whose facial features can be mixed and matched, allowing you to create different pumpkin faces rather than repeatedly carving the exact same character.
You can even carve several pumpkins and turn them into a larger Halloween display.
Carve Classic Halloween Monsters
Halloween is also a perfect opportunity to practice caricature carving.
Characters like Frankenstein's monster and Dracula have features that are instantly recognizable but don't necessarily need to be perfectly realistic.
Frankenstein might have a heavy brow, broad head, scars, and an exaggerated expression. Dracula can have slicked-back hair, a dramatic face, and, of course, his fangs.
That exaggeration gives you room to experiment.
If an eyebrow ends up slightly higher or a nose slightly larger than planned, it doesn't necessarily ruin the carving. Sometimes it gives the character more personality.
Ronan 3D currently has both Frankenstein Halloween and Dracula Vampire carving stencils, with step-by-step carving tutorials available for the projects.
For someone learning character carving, seasonal projects like these can be a fun way to practice faces without worrying about creating a perfectly realistic portrait.
Try Something a Little Spookier
Not every Halloween carving has to be a smiling pumpkin.
Ghosts, Grim Reapers, skull-inspired faces, witches, monsters, and creepy wood spirits can make interesting projects because they allow you to push proportions much further than you normally would.
Deep eye sockets, oversized noses, crooked mouths, exaggerated wrinkles, and unusual face shapes all work with the theme.
Our Spooky Halloween Pumpkin/Ghost Grim Reaper Stencil is one example. It uses a corner stencil to establish the overall character along with flexible face stencils that can be applied after the carving begins to take shape. The stencil is available for 1", 1.5", and 2" stock.
Projects like this also demonstrate an important point about using stencils:
The stencil should be the beginning of the carving, not the end of your creativity.
Once your major reference points are established, you can change the expression, deepen certain features, add texture, change the paint scheme, or introduce details that make the carving your own.
What Wood Should You Use?
If you're relatively new to carving, basswood is one of the easiest places to start.
Fine Woodworking recommends basswood for beginning carvers because it is soft with relatively even, forgiving grain.
That makes it particularly useful for small Halloween characters where you may be carving details around eyes, mouths, noses, hats, hair, or teeth.
Whatever wood you choose, pay attention to grain direction.
When a tool begins tearing the wood instead of producing a clean cut, don't automatically push harder. Changing your cutting direction may solve the problem. Grain direction can change as you work around curved features, meaning you may need to approach different portions of the same feature from opposite directions.
Keeping your carving tools sharp is equally important. A dull edge tends to crush and tear fibers instead of slicing them cleanly.
Don't Be Afraid to Change the Stencil Design
One of the biggest misconceptions about using a carving stencil is that every finished carving has to look exactly like the example.
It doesn't.
Try using the stencil to establish the major proportions and then change something.
Give your Frankenstein a crooked smile.
Make Dracula look angry instead of serious.
Add wrinkles to your Grim Reaper.
Carve three Jack-o’-lanterns with completely different expressions.
Change the hat, hair, eyes, nose, texture, or paint.
The stencil gives you repeatable reference points while the carving decisions you make afterward determine the personality of the finished piece.
Turn Several Carvings Into a Halloween Display
Instead of treating each project individually, consider building a small Halloween collection.
For example, you could combine:
- A few differently sized wooden Jack-o’-lanterns
- Frankenstein's monster
- Dracula
- A Grim Reaper or ghost
- Smaller pumpkins surrounding the characters
Paint can tie everything together. Traditional orange, black, green, purple, white, and dark red immediately create a Halloween feel, while leaving some exposed wood can give the collection a more rustic appearance.
You can also experiment with antiquing, dry brushing, stains, or deliberately uneven colors to make monsters and pumpkins look aged.
If you're selling finished carvings at fall craft fairs, creating several variations from the same basic stencil can also give customers a selection without requiring you to develop a completely new layout for every piece.
A Good Halloween Project for Beginners
Halloween carvings don't have to be complicated.
If you're just getting started, choose a relatively simple design, use a piece of basswood, and concentrate on making controlled cuts rather than adding every possible detail.
In fact, practicing simple cuts before attempting the final project can help you understand how your knife behaves with the grain. Beginner carving instruction commonly emphasizes learning basic cuts and grain direction before moving into more complicated forms.
A stencil removes another variable: figuring out the initial drawing.
Once you've traced your design, you can focus on the part you actually came to the bench to practice—carving the wood.
Make Something That Comes Back Next Halloween
That's one of our favorite things about Halloween wood carving.
A real Jack-o’-lantern might last a week or two. A wooden one can become part of your Halloween decorations for years.
And every fall gives you an excuse to add another character.
Start with a pumpkin this year. Add Frankenstein or Dracula next. Maybe a Grim Reaper after that. Before long, you've built an entire Halloween collection—and probably improved your carving skills along the way.
If you'd like a starting point for your next project, browse the Halloween wood carving stencils from Ronan 3D and follow along with the available step-by-step carving tutorials.
Pick a design, grab a block of wood, trace your stencil, and start carving something spooky.
As an Amazon Associate I earn from qualifying purchases.
Featured Products
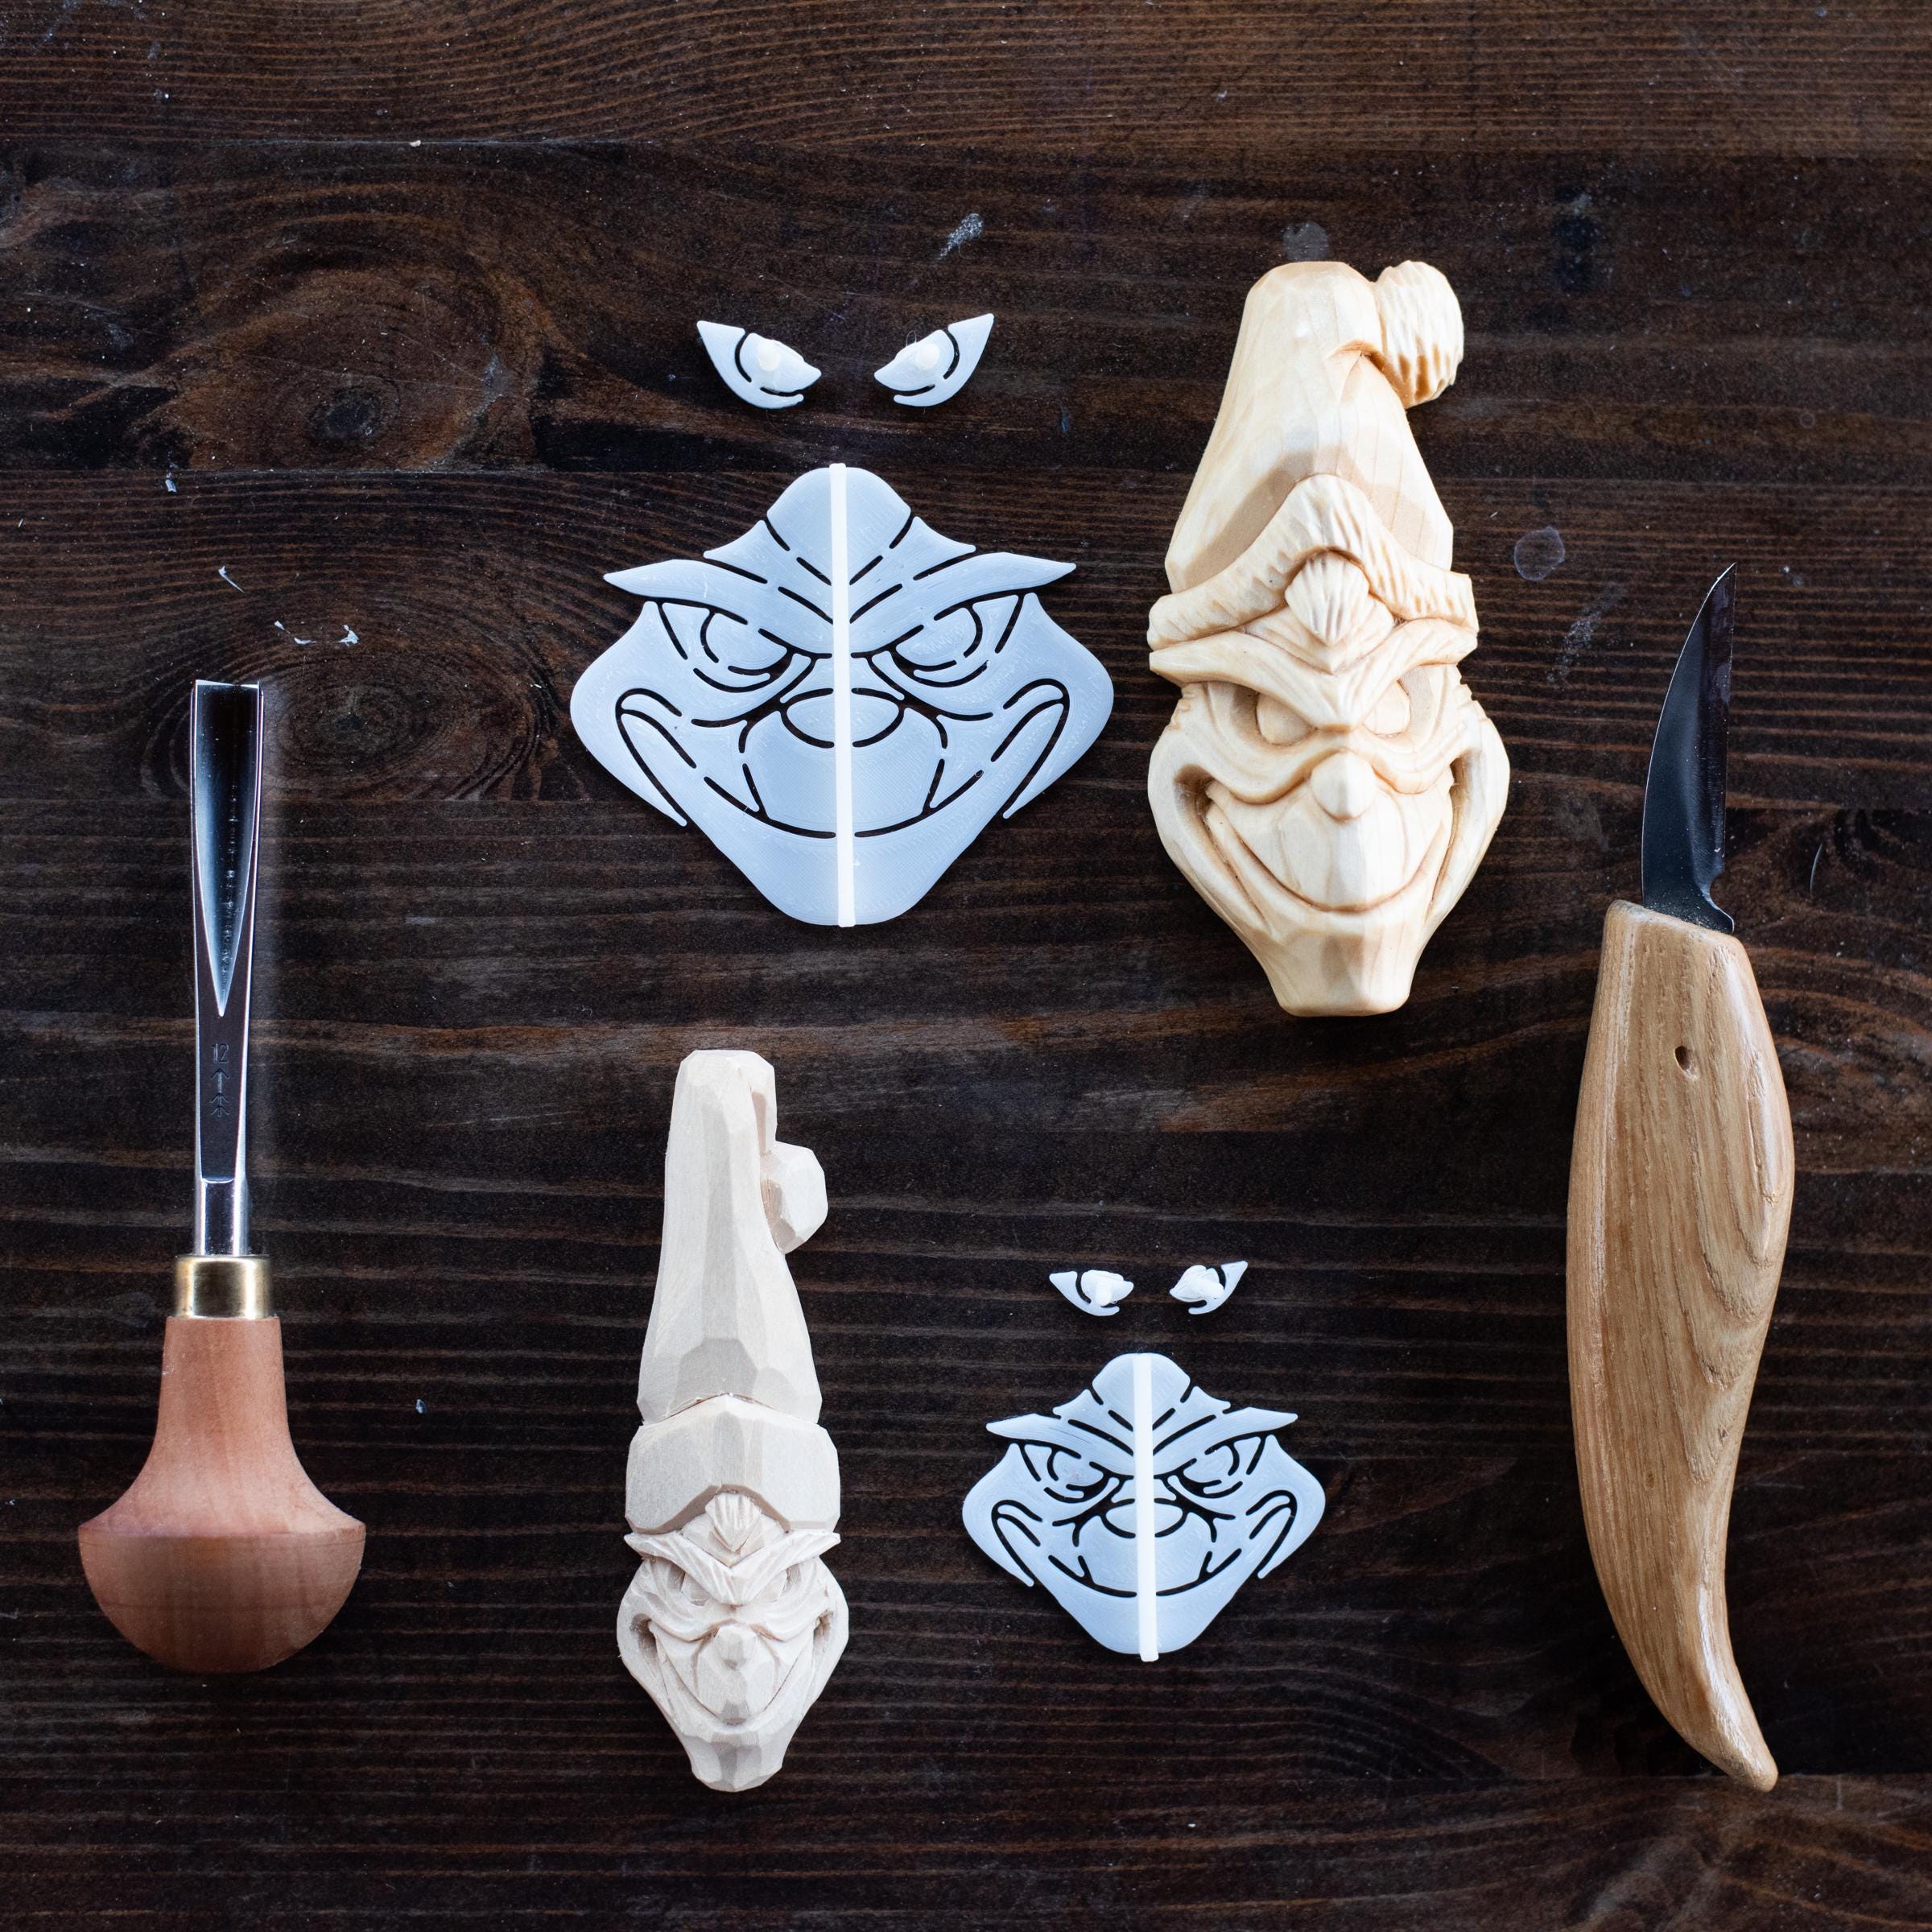
Christmas Goblin Wood Carving Stencil
Used in video$3.99
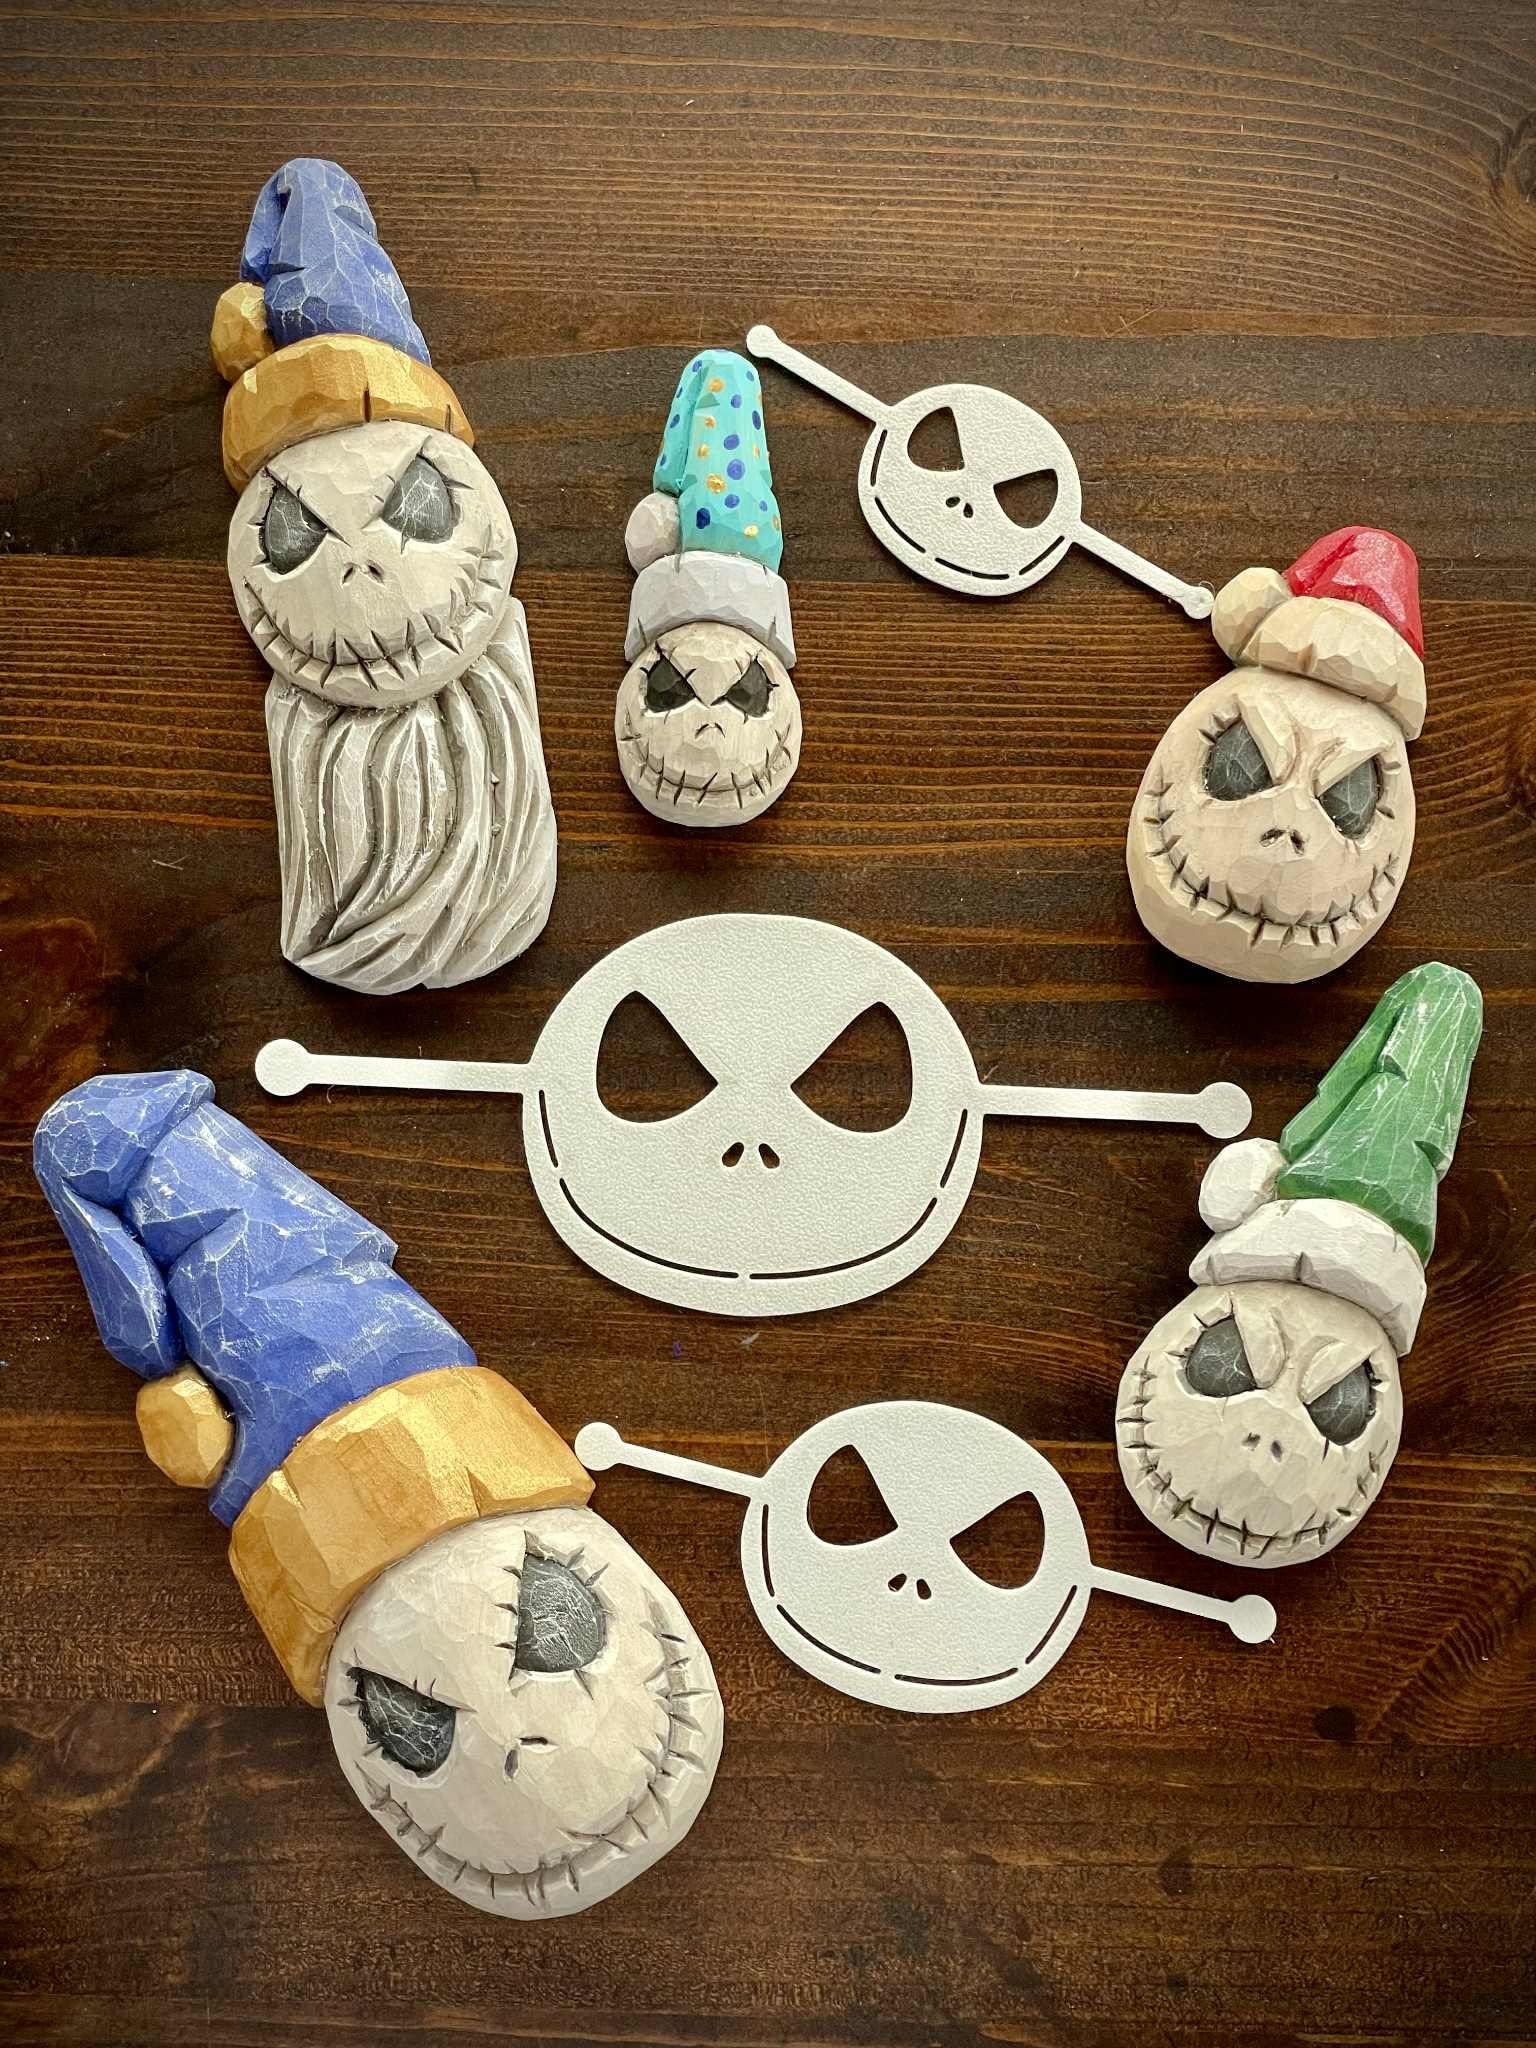
Christmas Ghost Wood Carving Stencil
Used in video$9.99
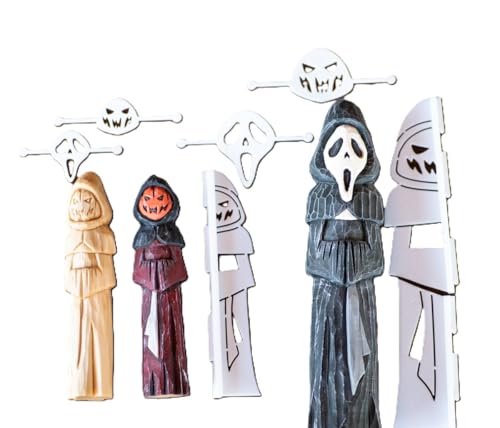
Spooky Halloween Pumpkin/Ghost Grim Reaper Stencil
Used in video$7.99
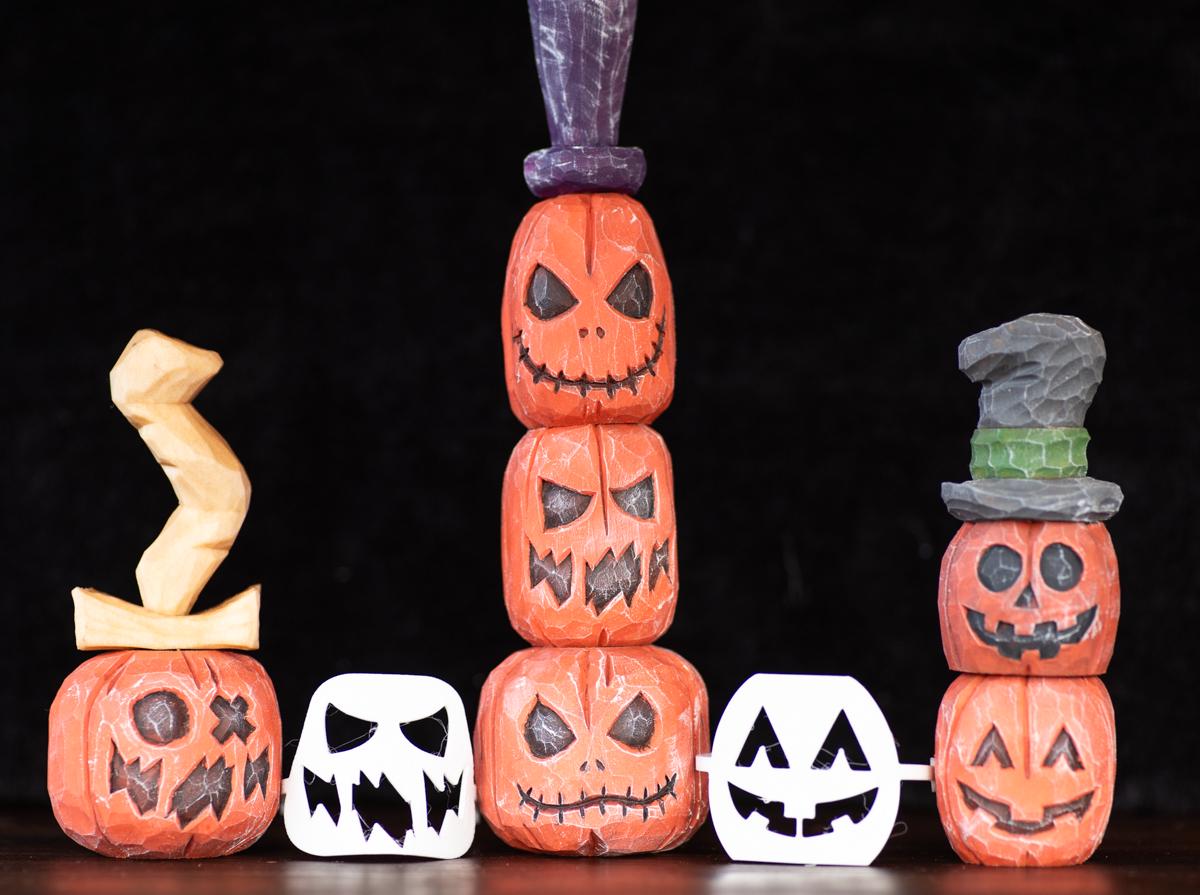
Jack o' Lantern Halloween Wood Carving Stencil
Used in video$11.99
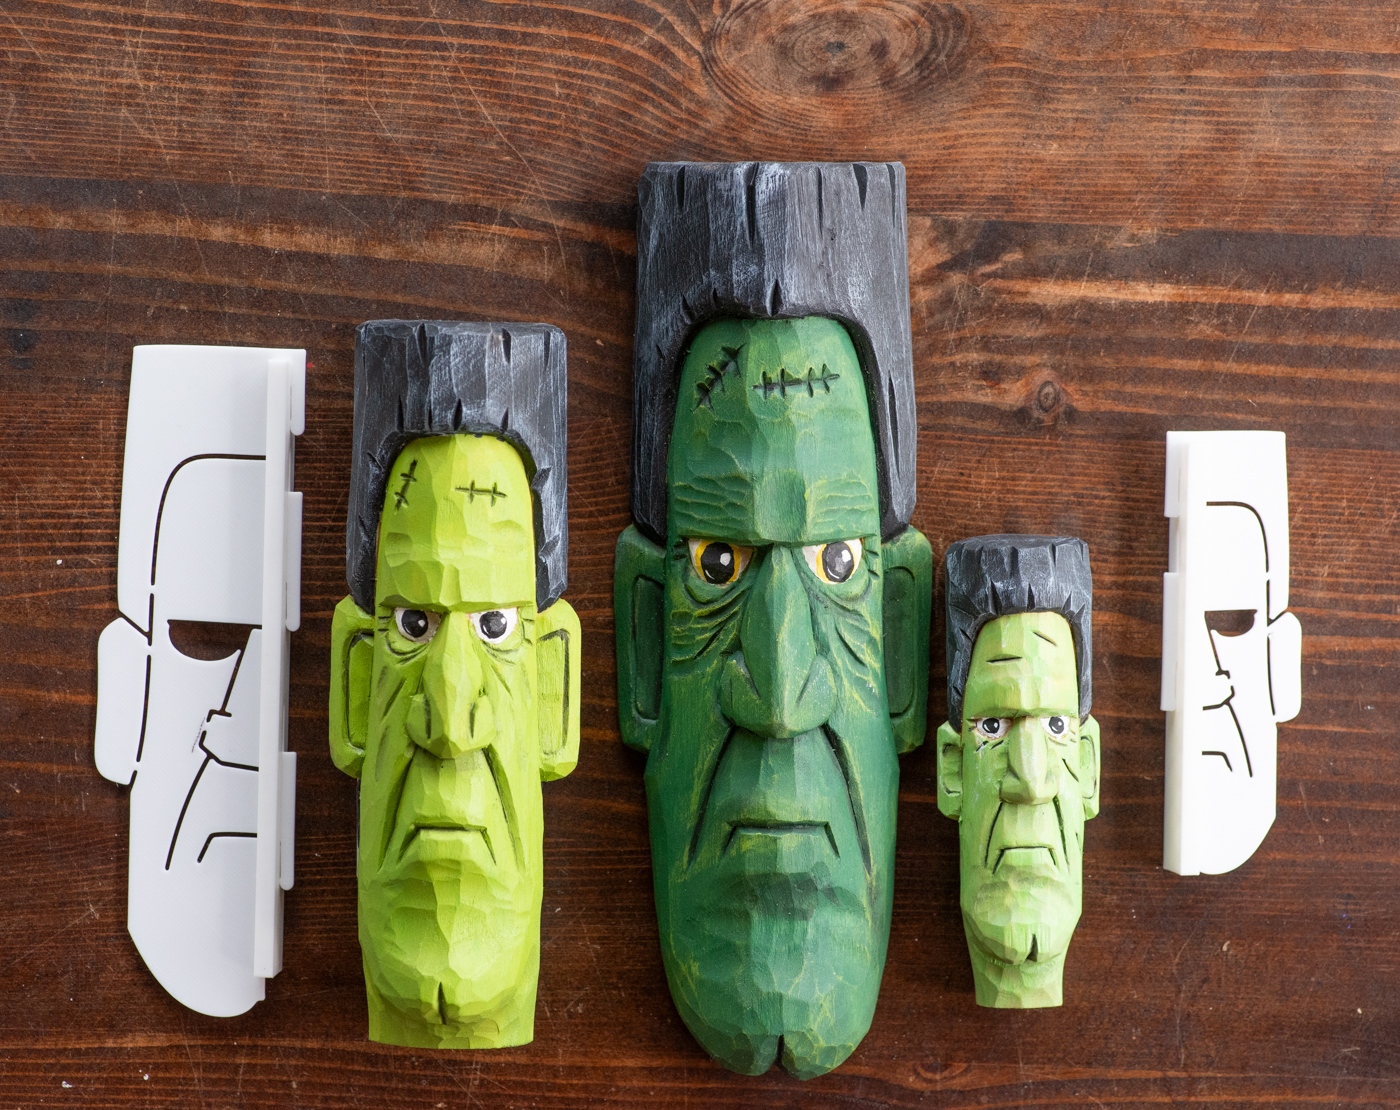
Frankenstein Halloween Stencil
Used in video$4.99

Dracula Vampire Stencil
Used in video$4.99
Watch related stencil tutorials
Pair this guide with Ronan3D video tutorials for step-by-step carving demonstrations and product walkthroughs.
Browse Tutorials